Overlapping Grid Bubbles in Revit and How to Fix Them Globally Across Multiple Views
How do you deal with overlapping grid bubbles? Whether you use “elbows” on your gridlines or offset your bubbles, you should never have to go to each view individually and manually change them.
Revit has the ability to apply the visual adjustments to your gridlines across multiple views using “Propagate Extents”. It seems as though this should be a relatively easy task, however there are a few tricks to getting this to work for your project.
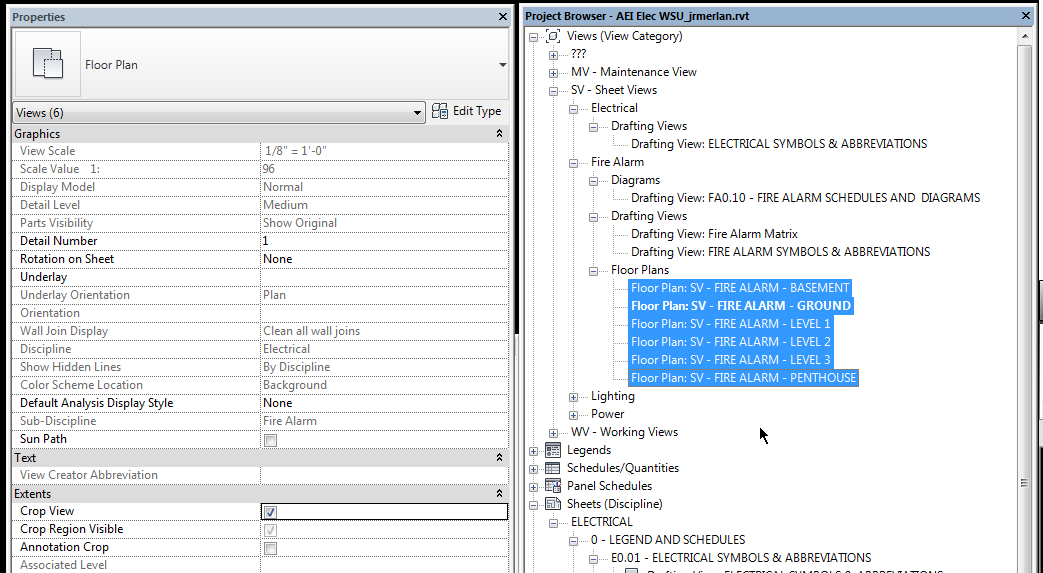
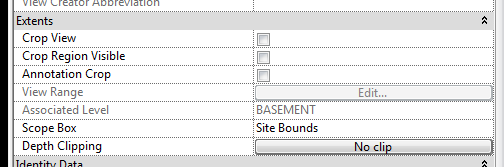
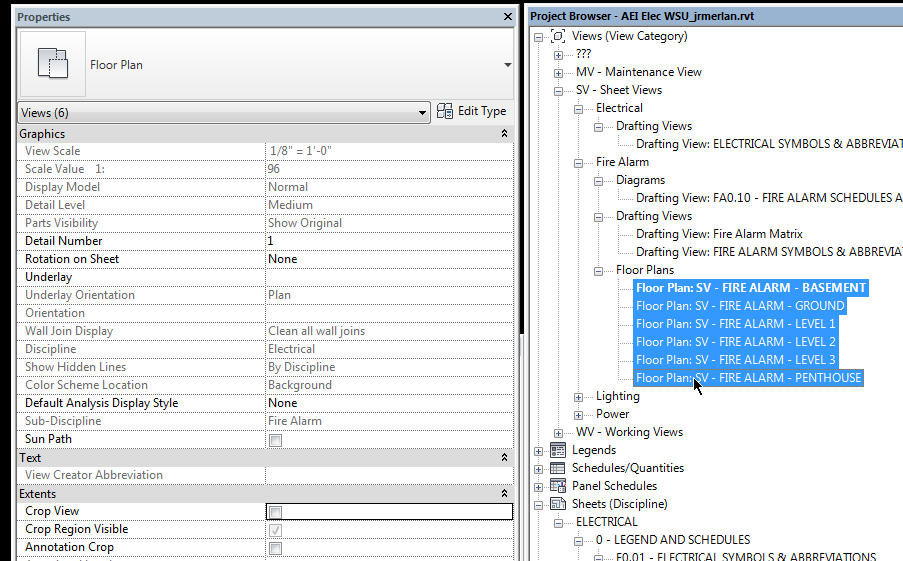
1) Turn off the Crop View property of your view.
First of all, your “Propagate Extents” button will do absolutely nothing if your crop regions are ticked in your view. Ensure that this is not checked on the view your are adjusting your gridlines in.
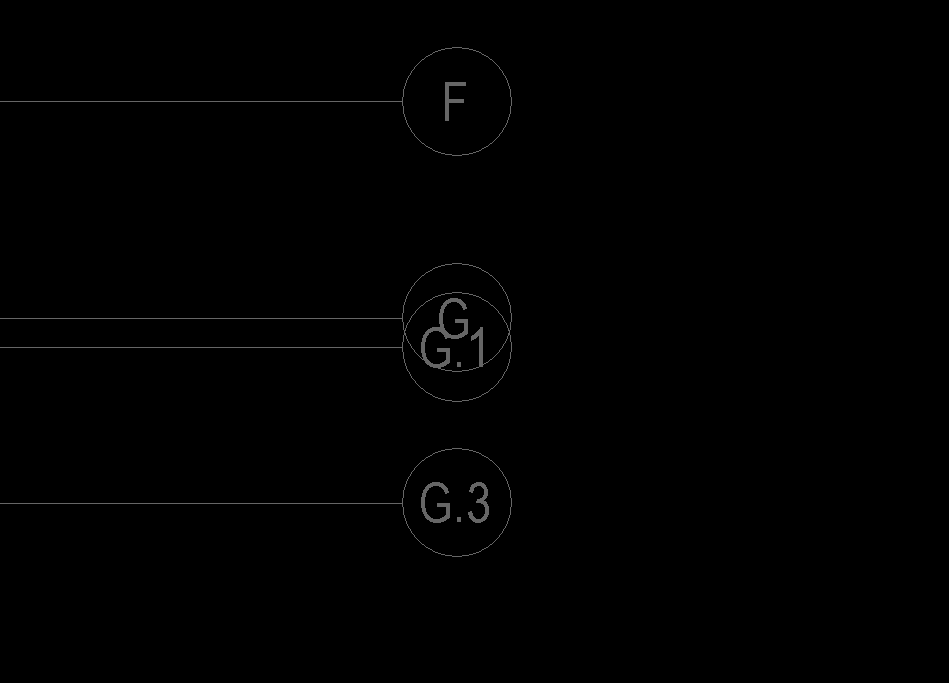
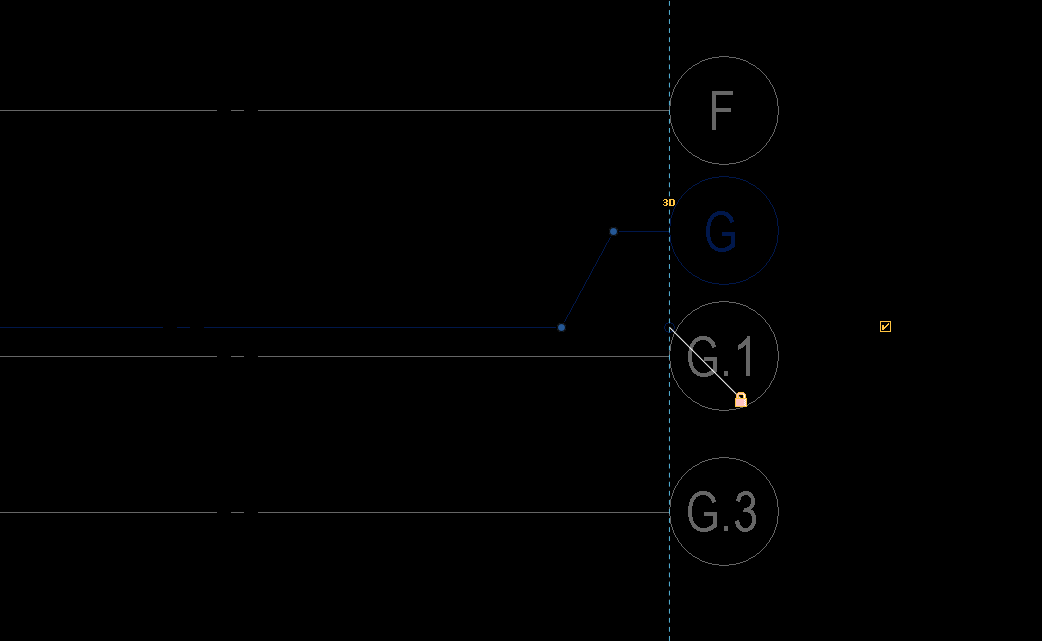
2) Adjust your Gridlines.
Once you’ve turned off the property which crops your view, you may adjust your gridlines to include elbows by clicking on the tiny break symbol near the bubble. This gives you a grip to freely move the grid bubble. Note that by default, Revit has grid overrides set to 3D, but it is worth looking for the small “3D” text next to your gridlines when you select them.
3) Turn off the Crop View property for all views you need to apply the grid override to.
Another key step in getting Propagate Extents to work for you is ensuring that the crop region is off for all views that you would like to apply these grid overrides to. Otherwise, they will not show up as an option to apply them to in your “propagate extents” dialogue box. You can select multiple views in the Project Browser by holding shift or control on your keyboard as you select views.
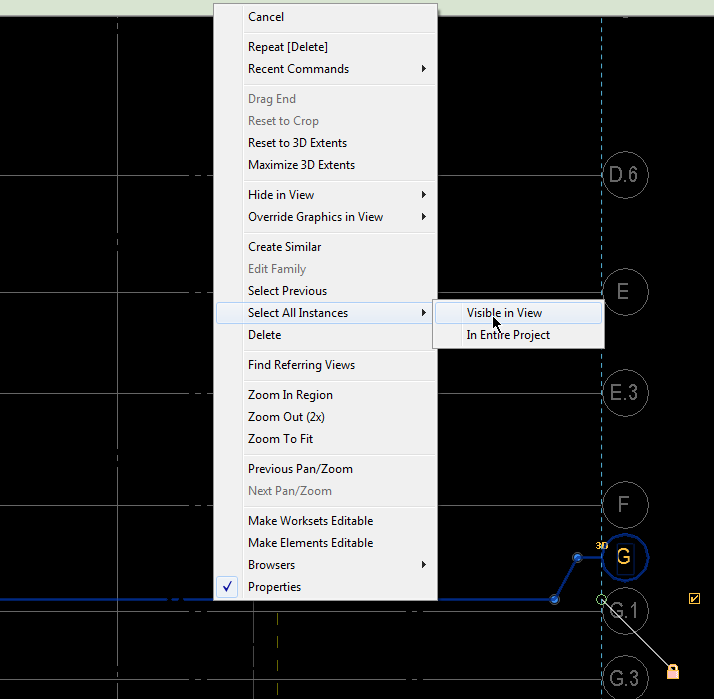
4) Select all grids.
Once all of your grids are adjusted and all of your views have their crop regions turned off, you need to select all grids. An easy way to do so is to right click on a gridline and choose “Select All Instances” > “Visible in View”.
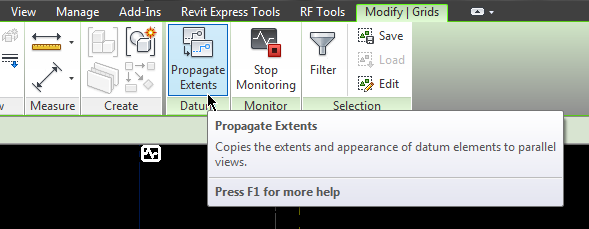
5) Apply Propagate Extents
With all grids still selected, click the Propagate Extents button on your ribbon under Modify | Grids (it will be a contextual tab on the far right when you have grids selected).
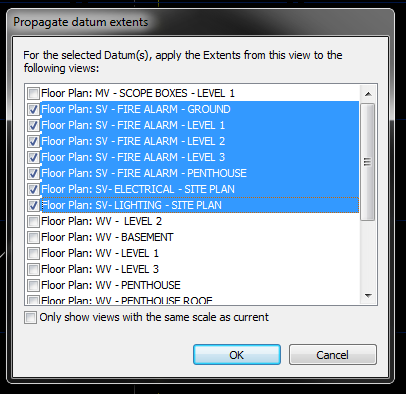
A window will pop up showing all of your views. Remember, only views with the crop regions OFF will appear in this dialogue box.
6) Don’t forget to turn your crop regions and/or scope boxes back on!