
Creating Graphical Signage Revit Families
Start with a clean vector file.
Ensure you have a file that is in a vector format such as AI, PDF, EPS, or other that is compatible with AutoCAD. Newer versions of AutoCAD can import PDF’s directly, however if for some reason you need to edit your signage in a vector editor BEFORE bringing it into AutoCAD you can use either Adobe Illustrator (professional grade), Inkscape (free), or Affinity Designer (affordable).
From whichever software you finalize your signage, export the file as a DWG (if your software can only export DXF, that will work as well). Note that you will need to convert text to outlines before importing to AutoCAD.
Open the DWG in AutoCAD to clean up the linework.
Open AutoCAD and inspect the DWG. You’ll want to clean up this drawing in AutoCAD prior to importing to Revit because it is much easier to work in a legitimate drafting software to edit linework (Revit is a horrible 2D drafting tool). Below are some of the steps to take when cleaning up the DWG.
Delete all hatch regions. We only need the outline of each extrusion to be imported to Revit.
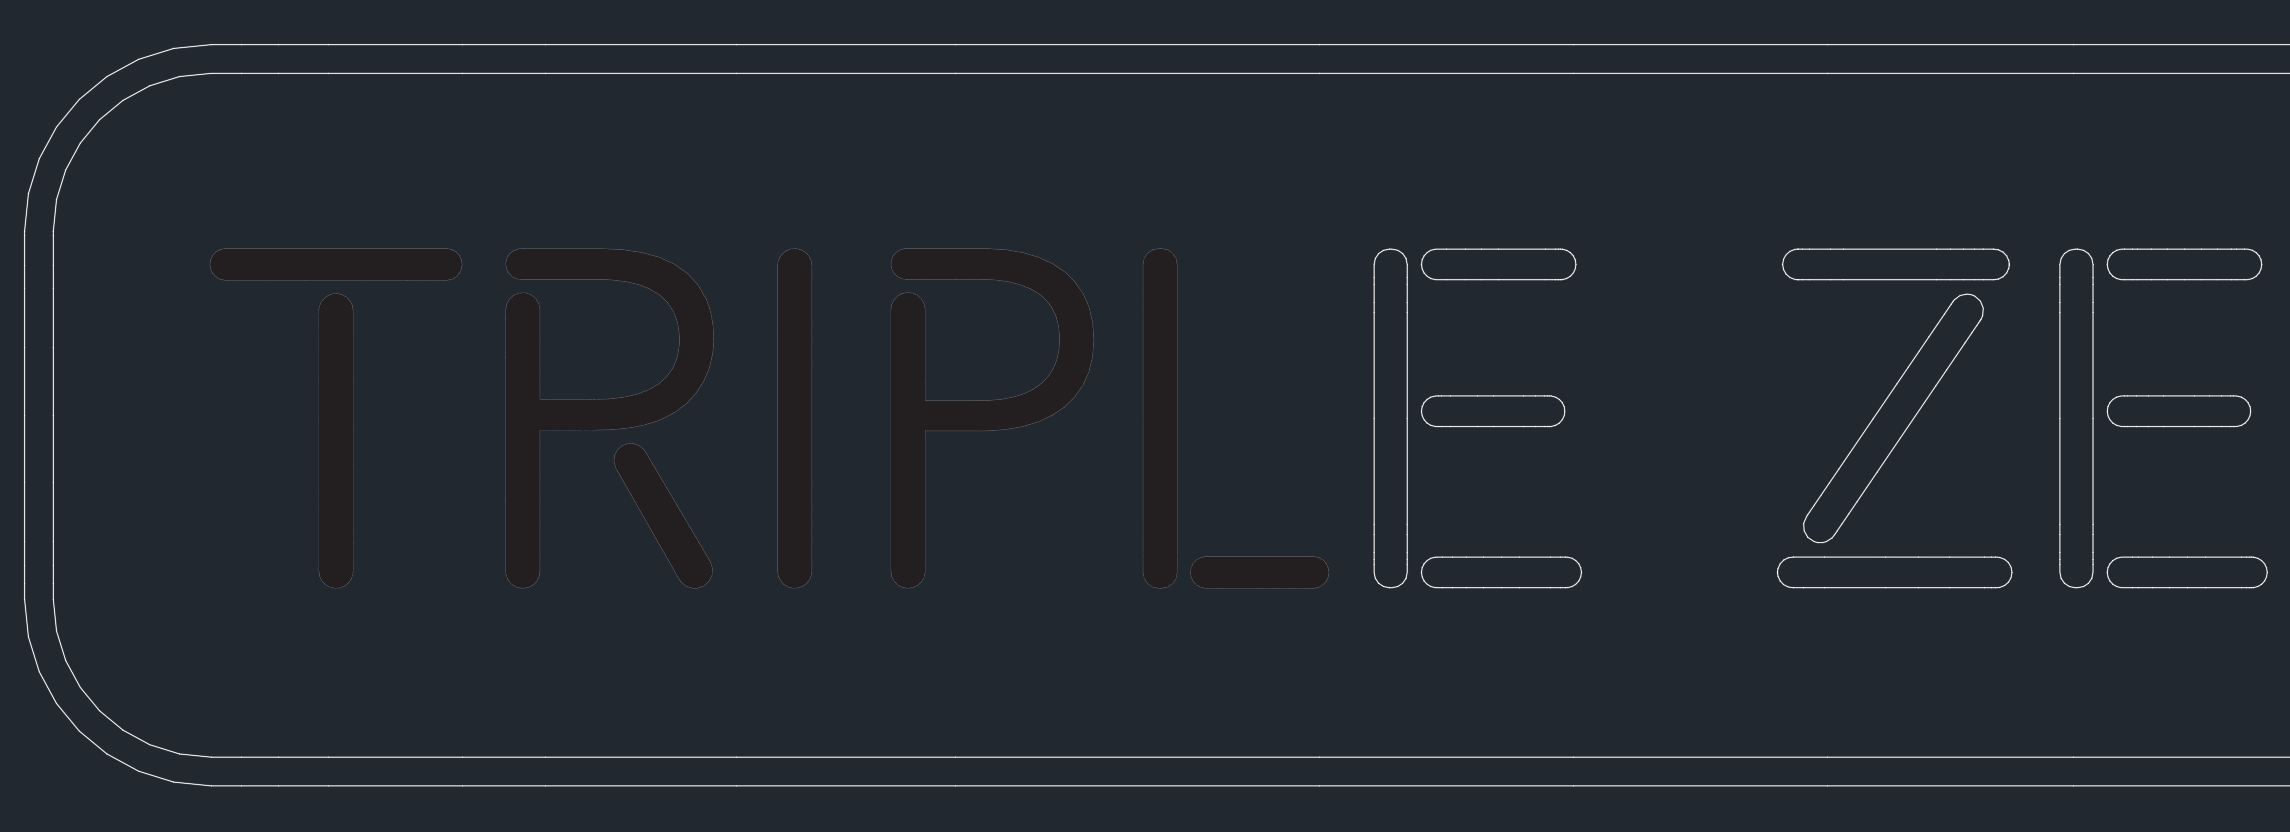
For curved lines, you should look for splines rather than polylines as they produce less faces in the final family.
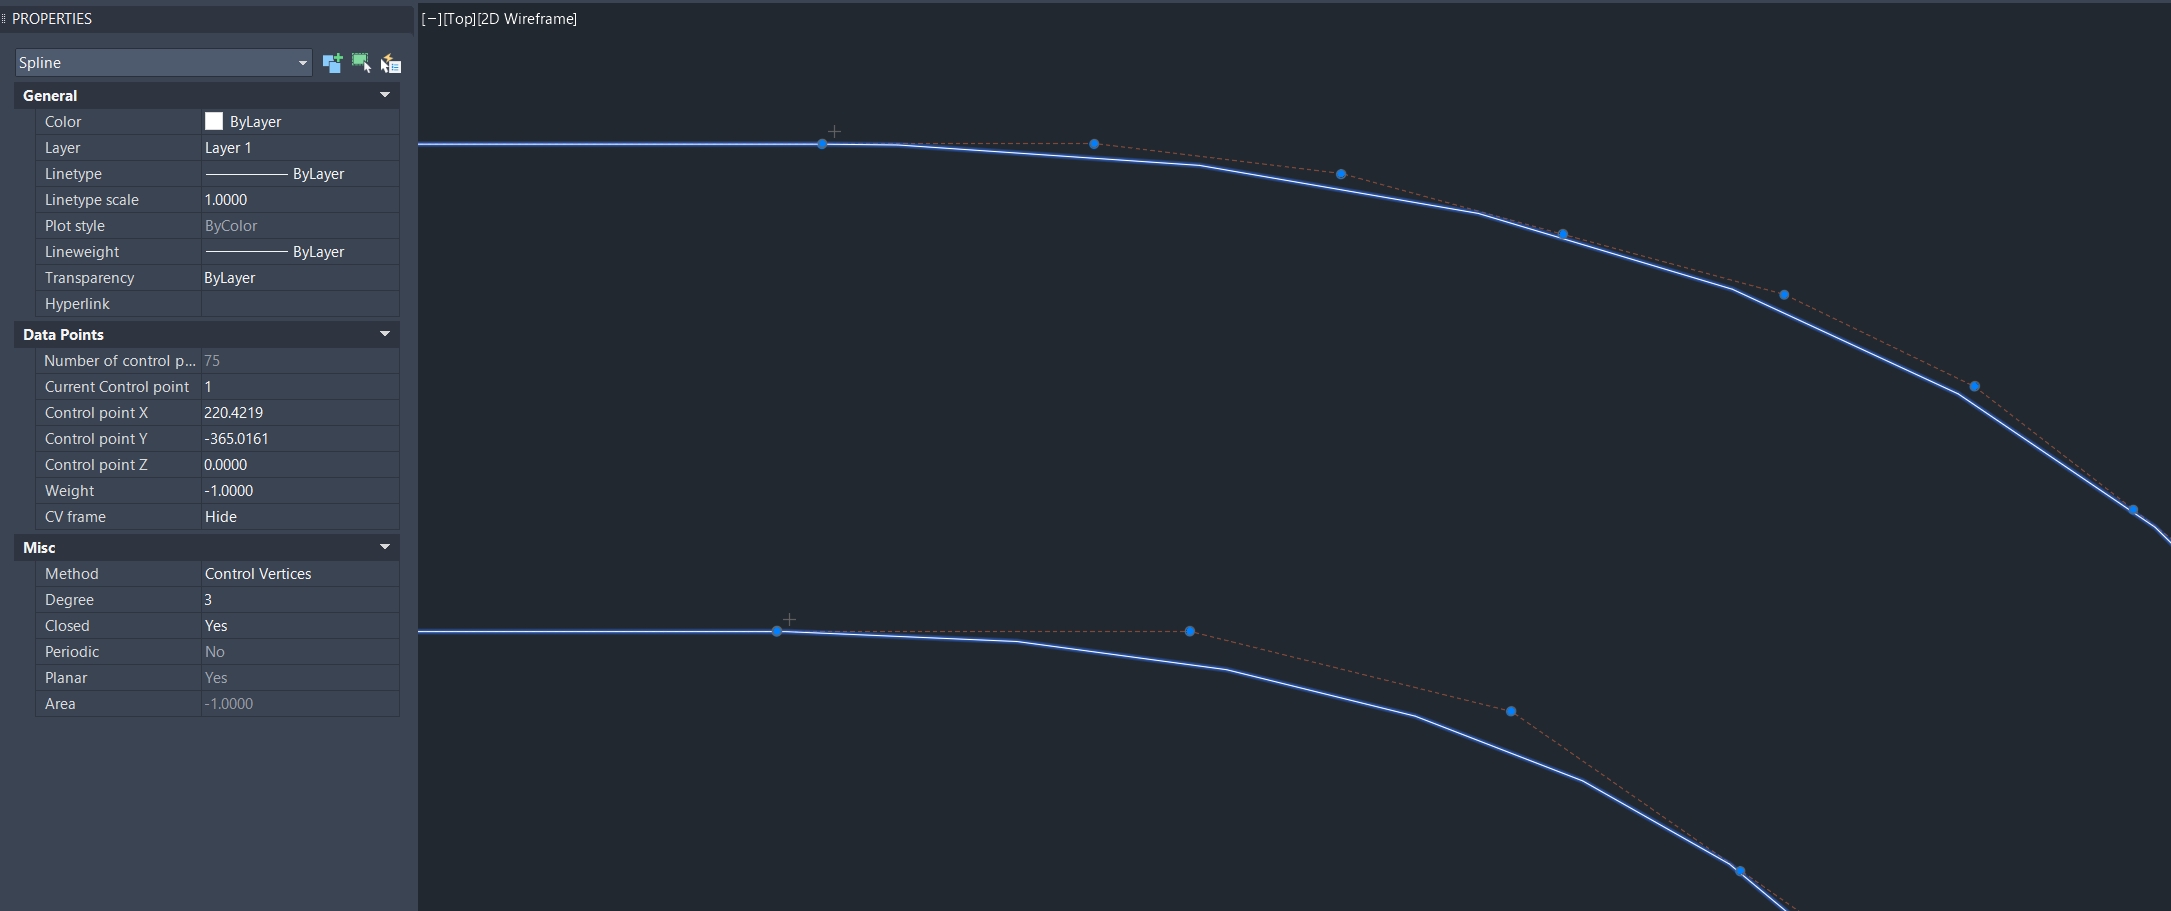
If your original file didn’t output splines, you can use polylines, but just be aware that this may increase the size of the family if there are too many faces. There are Lisp routines that you can find online which help reduce the number of polyline segments if needed (I use Polyline Diet). Keep in mind that the less polyline segments you have in the CAD file, the less faces you’ll have in the Revit family. The number of faces in Revit families has been known to have a significant impact to performance in the project models.
Use the OVERKILL command to ensure there are no duplicate lines stacked on top of each other.
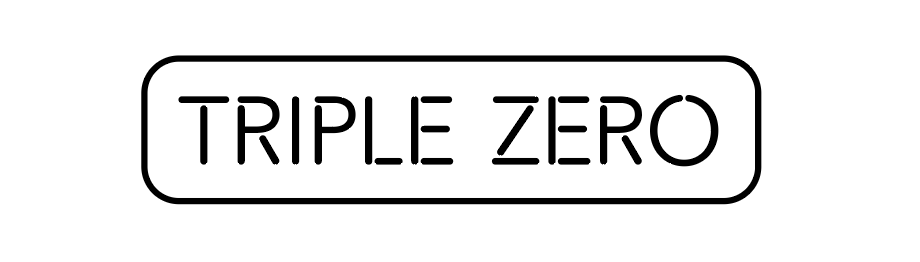
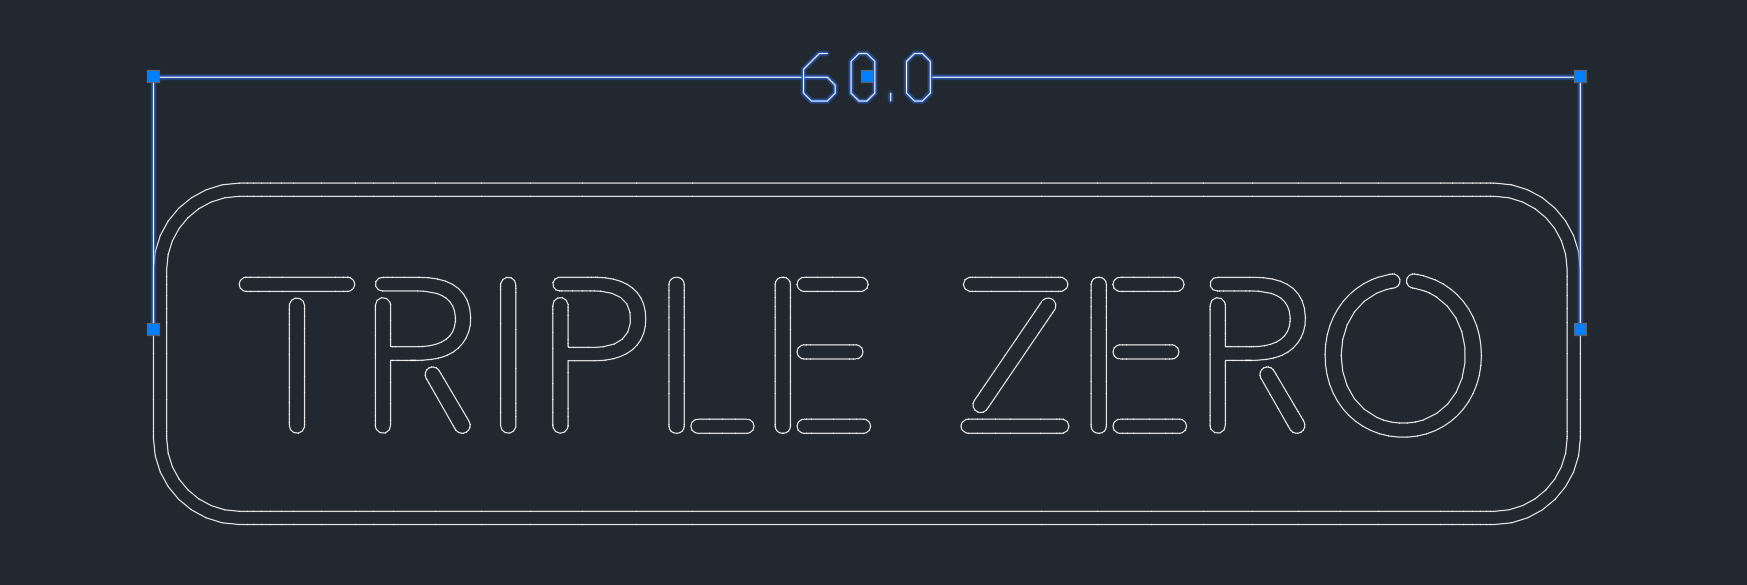
Scale the signage lines to the actual dimensions of the sign. For our neon sign example, we have scaled the linework to be a total of 60″ wide.
Import the DWG into Revit
In Revit, create a new family. For signage, I typically create a face-based family so that it can be hosted to a wall or other face in the project model.
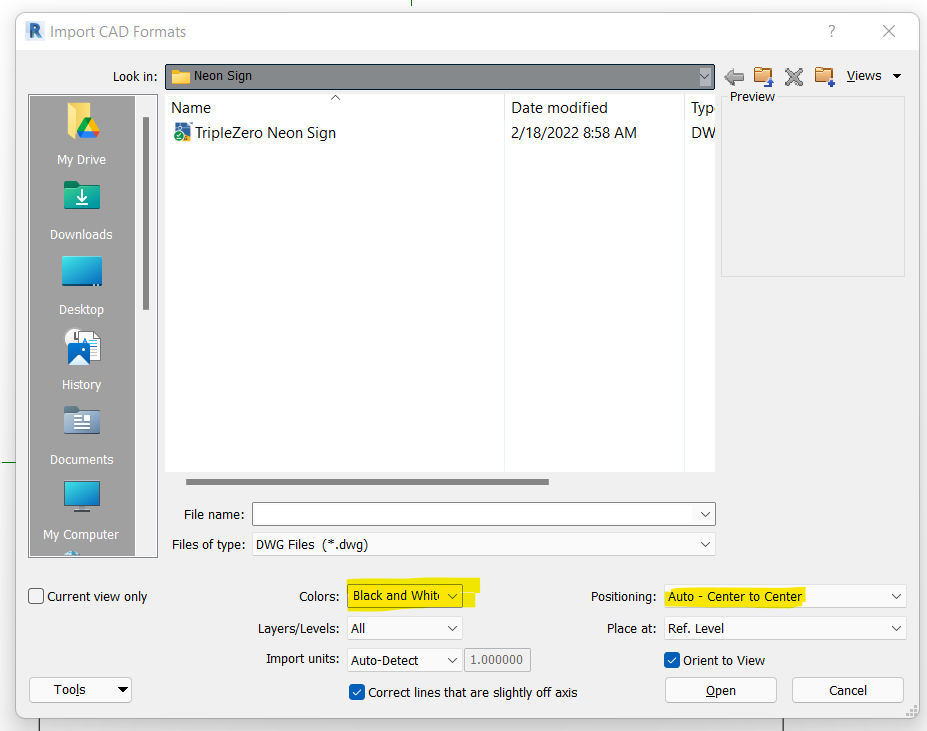
In the new family, import the DWG. Optionally set the Colors to “Black and White” and the Positioning to “Auto – Center to Center”. I’ve learned that these options can save a few steps in Revit.
Explode the imported DWG and cut all of the lines to your clipboard (Control + X).
Create a new Extrusion and paste the lines while in sketch mode using Paste Aligned to View.
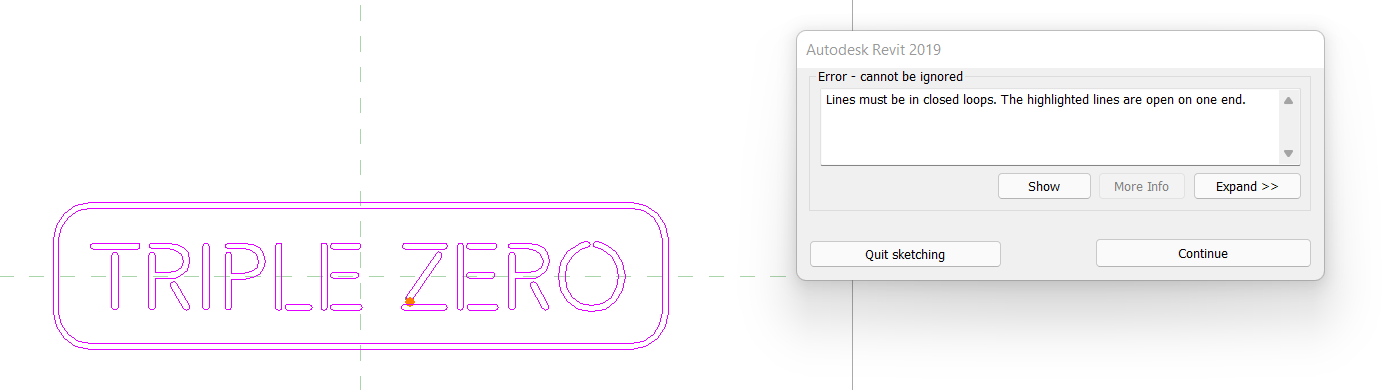
You may receive warnings about lines being too short. This means Revit wasn’t able to draw certain lines and you’ll need to close the loops manually in order to create the extrusion. Click Delete Element(s) and look for the areas that need to be reconnected.
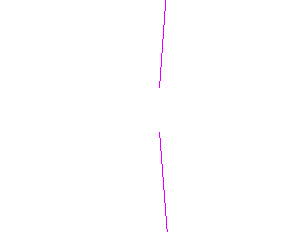
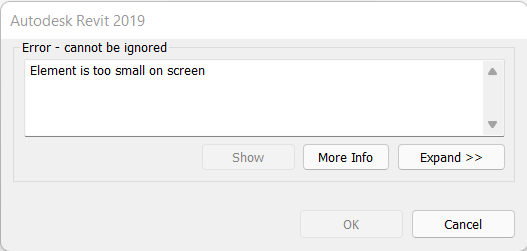
If you try to draw lines to close these gaps, you will often get the message “Element is too small on screen”. This means you’ll need to force one of the adjacent lines to connect by dragging its endpoint to the other line. Typically adjusting linework like at this scale is unnoticeable in the final family, but use your best judgement in you’re concerned with a negative impact to the original artwork.
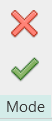
As you are working to connect all of the lines, it is helpful to try to click the Finish Edit Mode button to attempt to create the extrusion. Errors will pop up and highlight the gaps in orange making them easier to find. DO NOT click the Quit Sketching button or your work up to this point will be completely lost.
Once you’re able to Finish Edit Mode, you will see that your extrusion is created successfully by all of the handles/grips that appear on your line work.
The final step in working with the geometry is to set the depth of extrusion accordingly as shown below:

Final Step: Apply Materials
Congratulations! The hard part is done! Stand by for Part Two of this series to learn how to create the material which will give our neon sign the appearance of giving off a colored light.