A quick fix for gridline bubbles that do not copy/monitor on the same ends of the gridlines
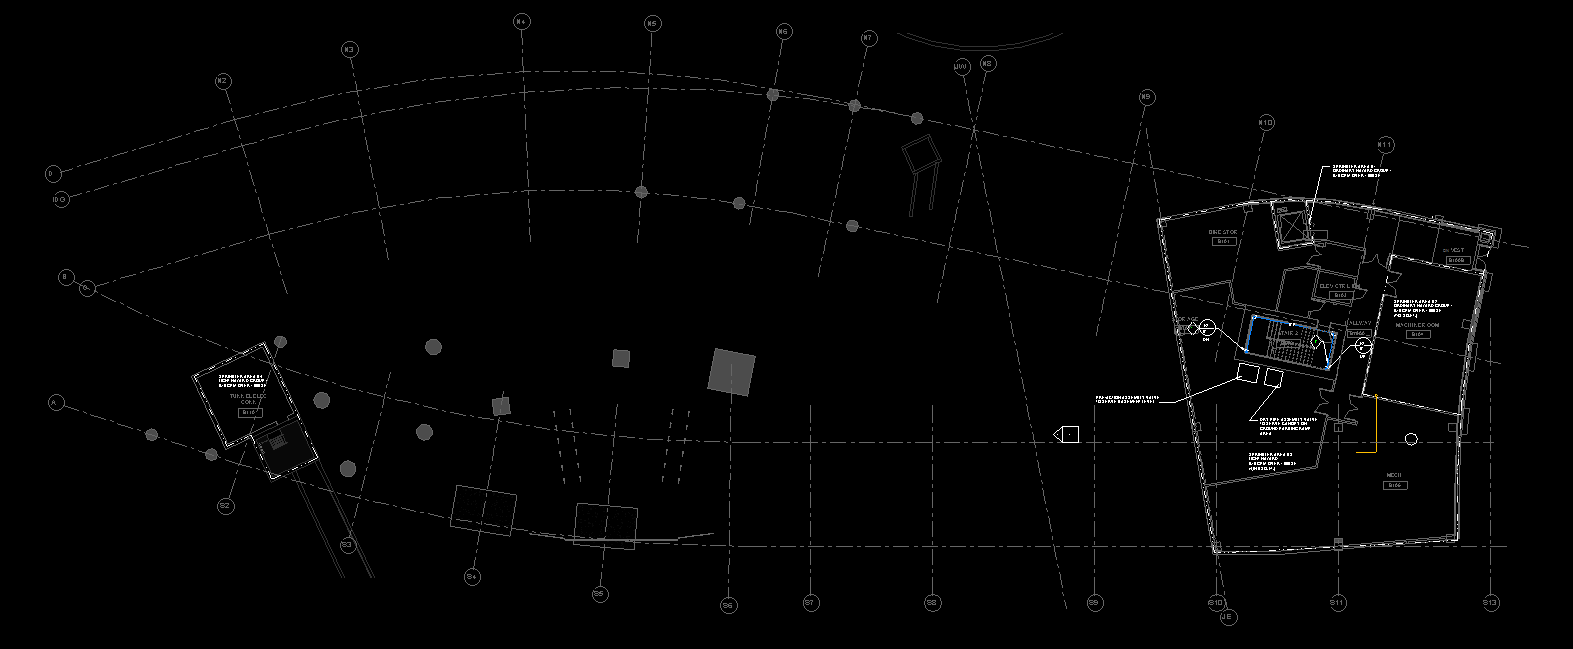
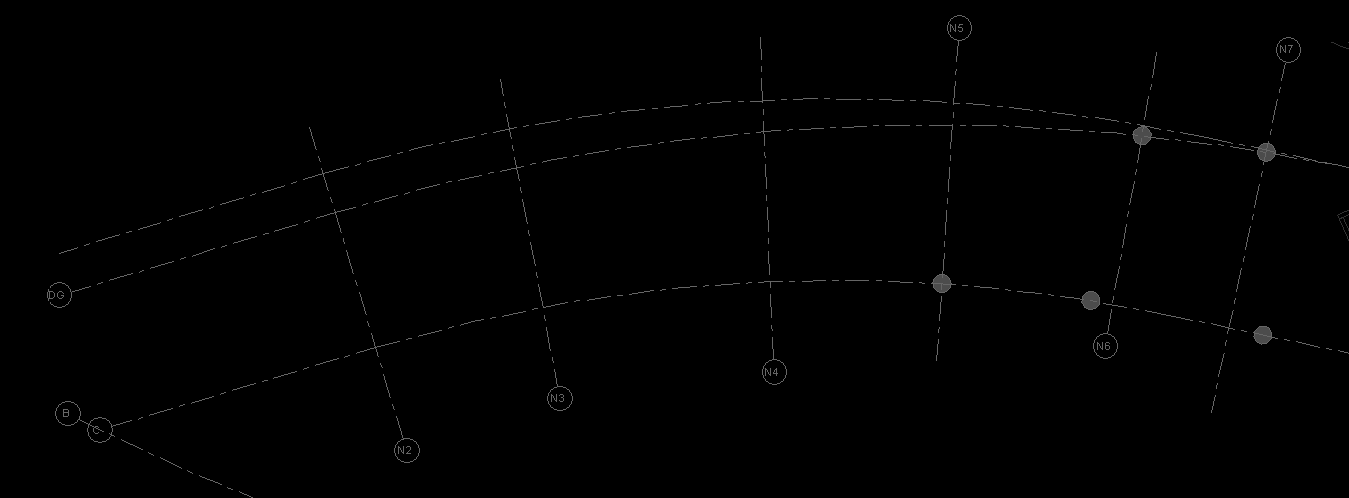
Occasionally, you may copy/monitor gridlines from a linked model only to realize that the grid bubbles are all over the place. Some are at the top, some are at the bottom, some are on the left and some are on the right. This can be frustrating to correct if you have several views in a Revit model.
We had previously posted an article regarding how to fix this issue by using propagate extents. That method works fine to correct this, however it can still be time consuming. Here we have a quick and dirty way to get grid bubbles to appear on the same side of your views in just a few simple steps.
The Fix
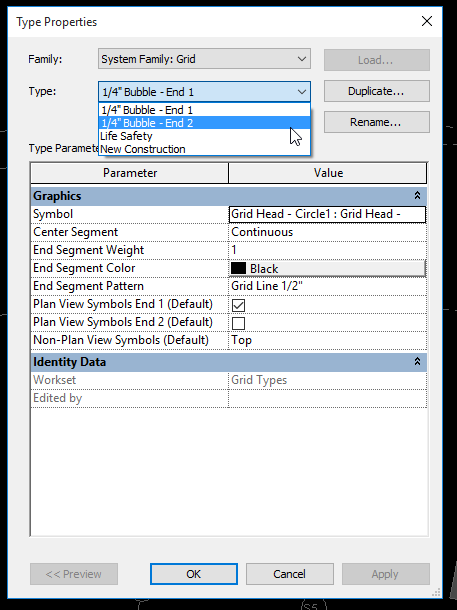
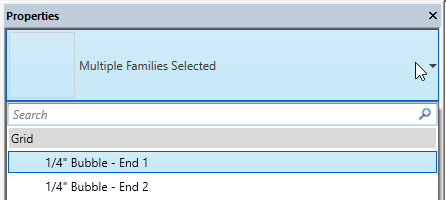
The first step is to duplicate your Grid family to include a second version which has the “Plan View Symbols End 1” and “Plan View Symbols End 2” parameters checked – one per type. For this example, we will call them “…End 1” and “…End 2”.
Next, you want to select all gridlines that you would like to change the orientation of the bubble.
While Grids are selected, go to your Properties window and change the type to the alternate family type that you created.
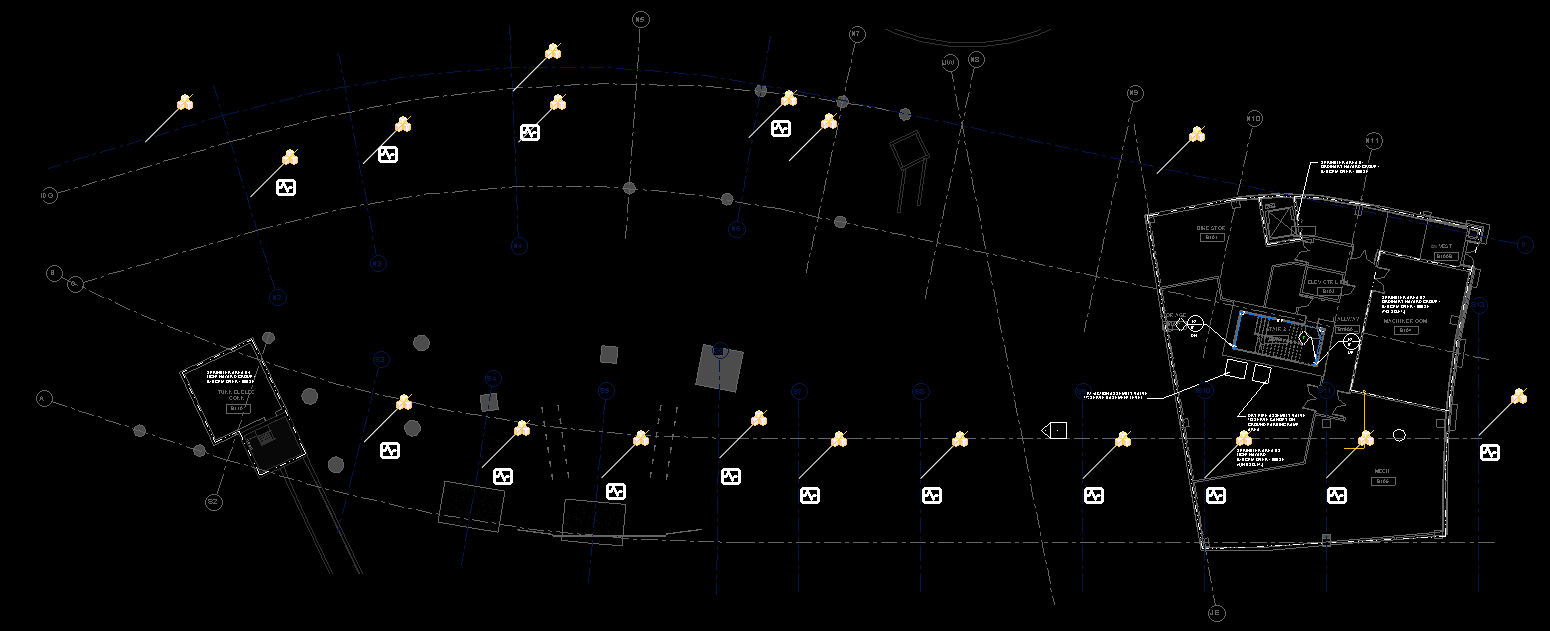
That’s it!
All grid bubbles on all views will be aligned to the side of your preference.