Rotate a section to line up to an angled element in Revit
I remember my early days of Revit and working with architecture that had several angles in plan view. Cutting a section without knowing the exact angle is difficult in Revit and the Align tool currently does not work on section lines.
Here is a workaround to rotate your sections to align with any angle within Revit.
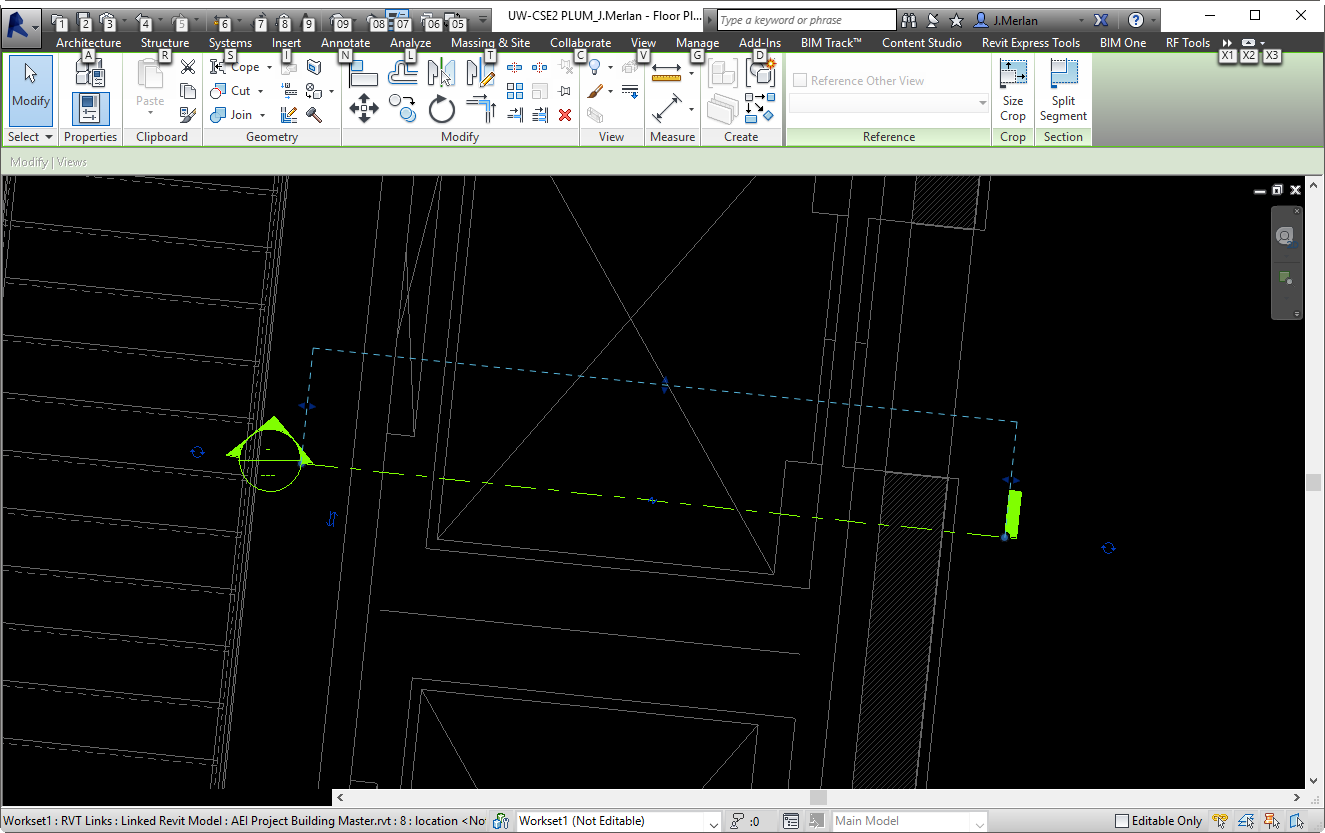
1) Draw a straight section
Make sure it is perfectly straight or this method will not work.
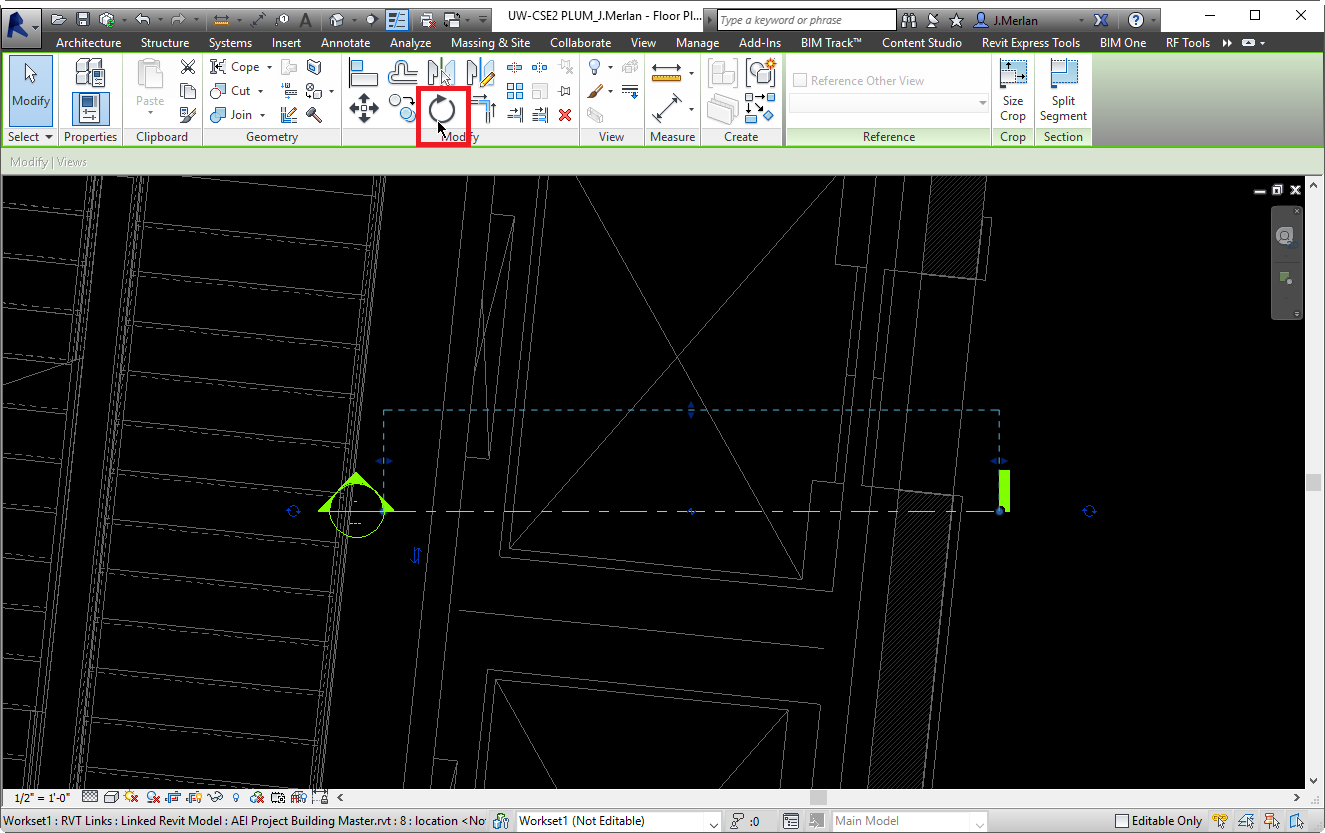
2) Use the rotate tool
Select the section from plan view and click Modify > Rotate.
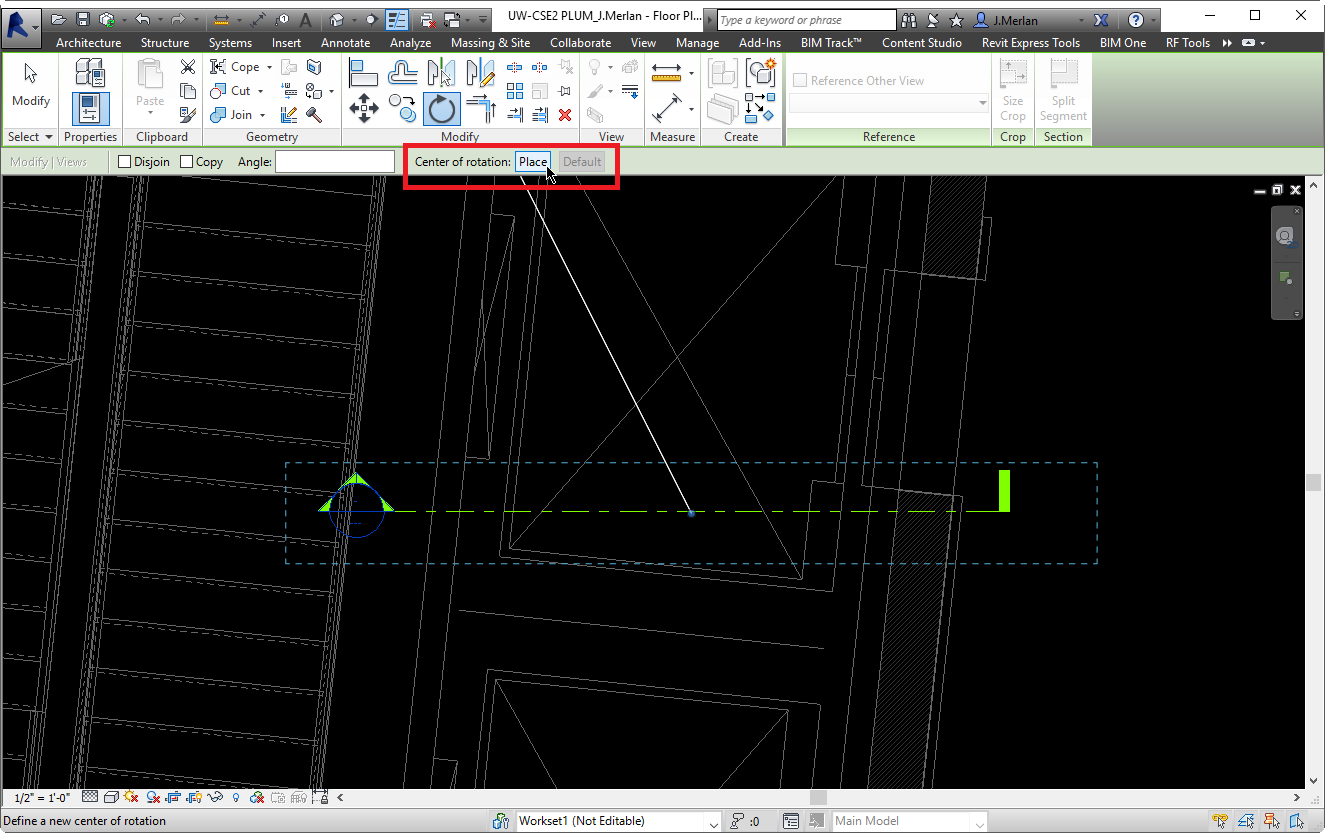
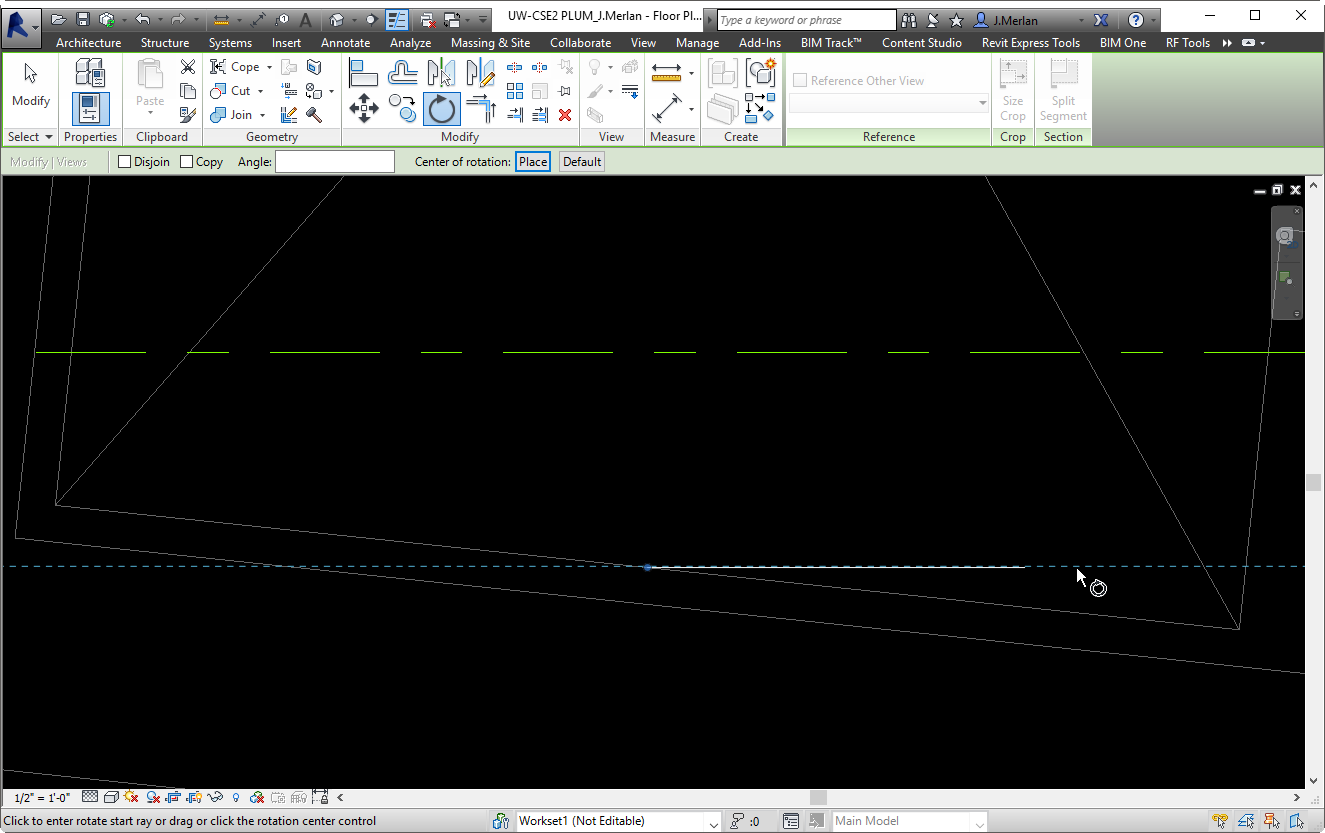
3) “Place” your center of rotation
This step is where the magic happens. Once you choose the Rotate tool, there is a checkbox on the Options Bar that says “Center of rotation”. Click the “Place” button.
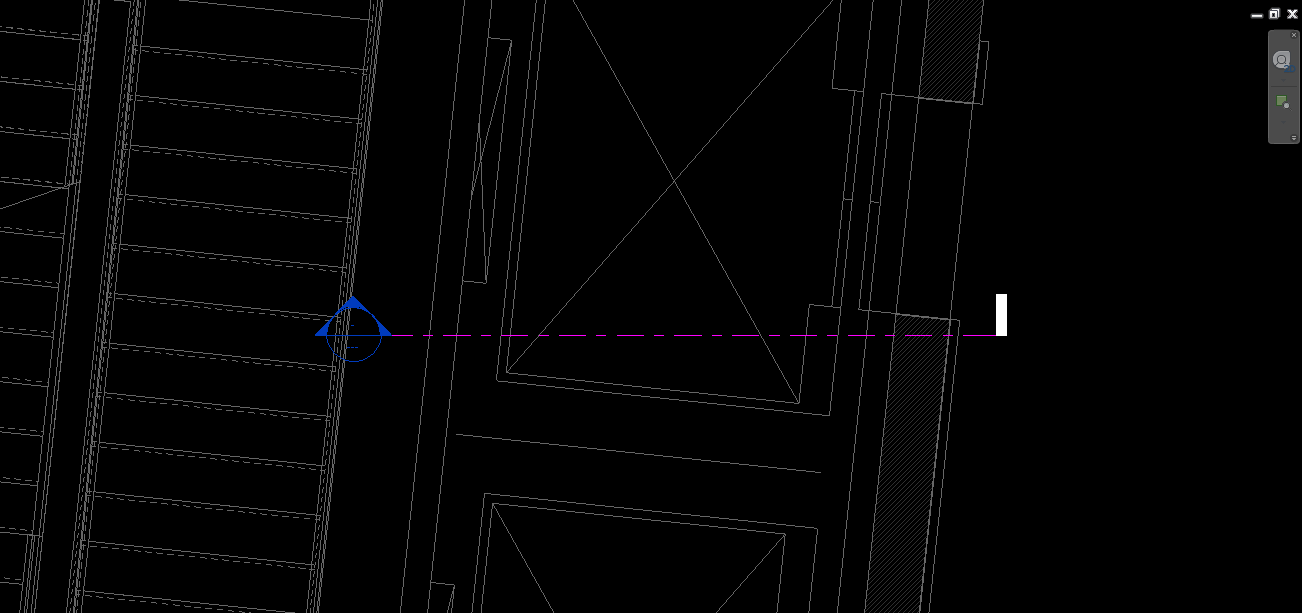
4) Pick a point
Choose a point that snaps to an element that has the angle you would like to reference. In this example, we will use the midpoint of the elevator wall.
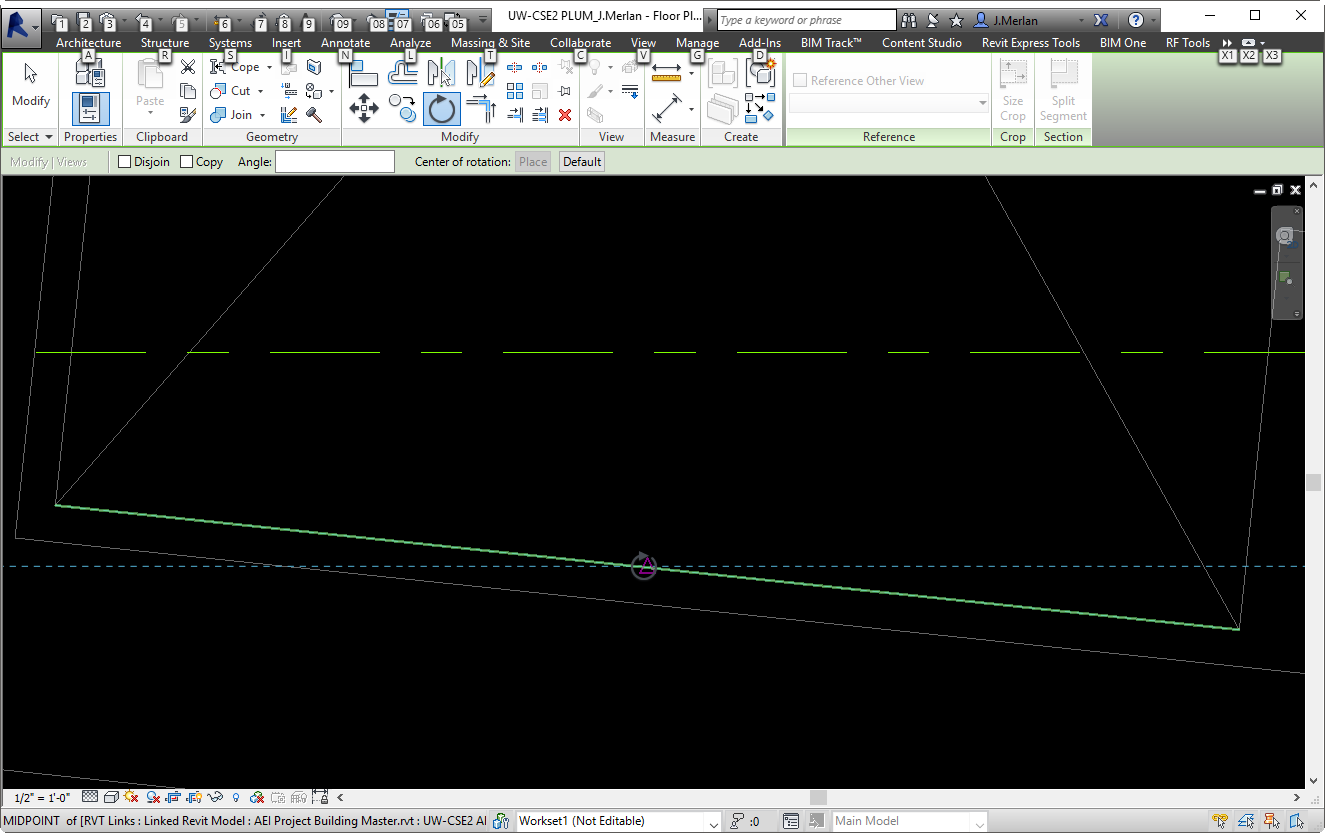
5) Create a rotation reference
After you’ve picked your center of rotation, you need to create a starting angle for the rotation. This reference line should be parallel to your section line. In this example, it is horizontal.
6) Snap to the proper angle
To complete the rotation, snap to the line that you are using as a reference.

7) Done and done
You have successfully aligned and rotated a section to match an angled element in Revit!